
Many professionals start their day with disconnected to-do lists and isolated priorities, leading to a circular motion instead of progress.
This guide breaks down how the right daily planner software serves as a single, shared plan, aligning everyone on the wider goals. We’ll explore the essential features that turn individual tasks into team wins, showing how a flexible platform like monday.com gives teams the clarity to execute strategy flawlessly.
What is daily planner software?
Modern daily planner software is the central hub where we turn scattered to-do lists into a clear, unified push forward. It’s where individual tasks connect to team goals, ensuring everyone is running the same play. It’s less about just scheduling your day and more about gaining total clarity on team priorities. This alignment is what fuels faster, smarter execution.
The real power kicks in when planning becomes a team sport instead of a solo activity.
With everyone working from the same visual dashboard, we build unstoppable momentum together. This is how we transform daily chaos into a smooth, streamlined flow that gets big things done.
Why teams need daily planner software
Juggling work across different time zones, apps, and inboxes can feel like a team sport with no playbook. A great daily planner gets everyone on the same page, turning that scattered energy into focused momentum.
Imagine swapping endless status hunts for a single, clear status report template that keeps your team’s entire game plan in focus. A central work hub connects every task, deadline, and owner in one place, giving everyone real-time visibility into progress. This clarity lets us trade guesswork for confidence and move forward together, faster.
When we can all see the big picture, we can spot potential roadblocks early, balance workloads to keep the team healthy, and stay perfectly aligned without constant check-in meetings. It’s about shifting from reacting to deadlines to proactively shaping our success. This is how we win the week, every week.
Key features for daily planner apps
A great team planner isn’t just another app, it should seamlessly connect with the tools you already rely on, from Google Calendar to Slack, pulling everything into one clear view. This ends the constant app-switching and guesswork, giving your team a single source of truth for what needs to get done.
True teamwork happens in real-time, and your planner should too. Look for features that let everyone update statuses, leave comments on tasks, and see changes as they happen, eliminating the need for those “just checking in” meetings. With flexible views like calendars and timelines, your team can organize schedules in a way that clicks, making planning feel less like a chore and more like a strategy session.
Work happens everywhere, so your plans need to be accessible from anywhere. Whether your team is at their desks, on their phones between meetings, or even working offline, everyone needs access to the same up-to-date information. This cross-platform power keeps the whole team moving forward together, confidently and in sync.
How to choose the best daily planner application
The best tools bend to fit your unique workflow, feeling like they were built for you. When we try to cram our work into a rigid system, we just end up with more roadblocks and less momentum.
monday.com is a flexible platform that can shape to match your team’s specific plays. This way, the software supports your strategy instead of dictating it.
Start by mapping out your team’s daily huddles and identifying where things get stuck. Then, list your must-have connections, like calendars and chat apps, and make sure they sync up seamlessly. The final gut check is simple: will your team actually enjoy using it every day?
Let’s dive in to some of the best in the business
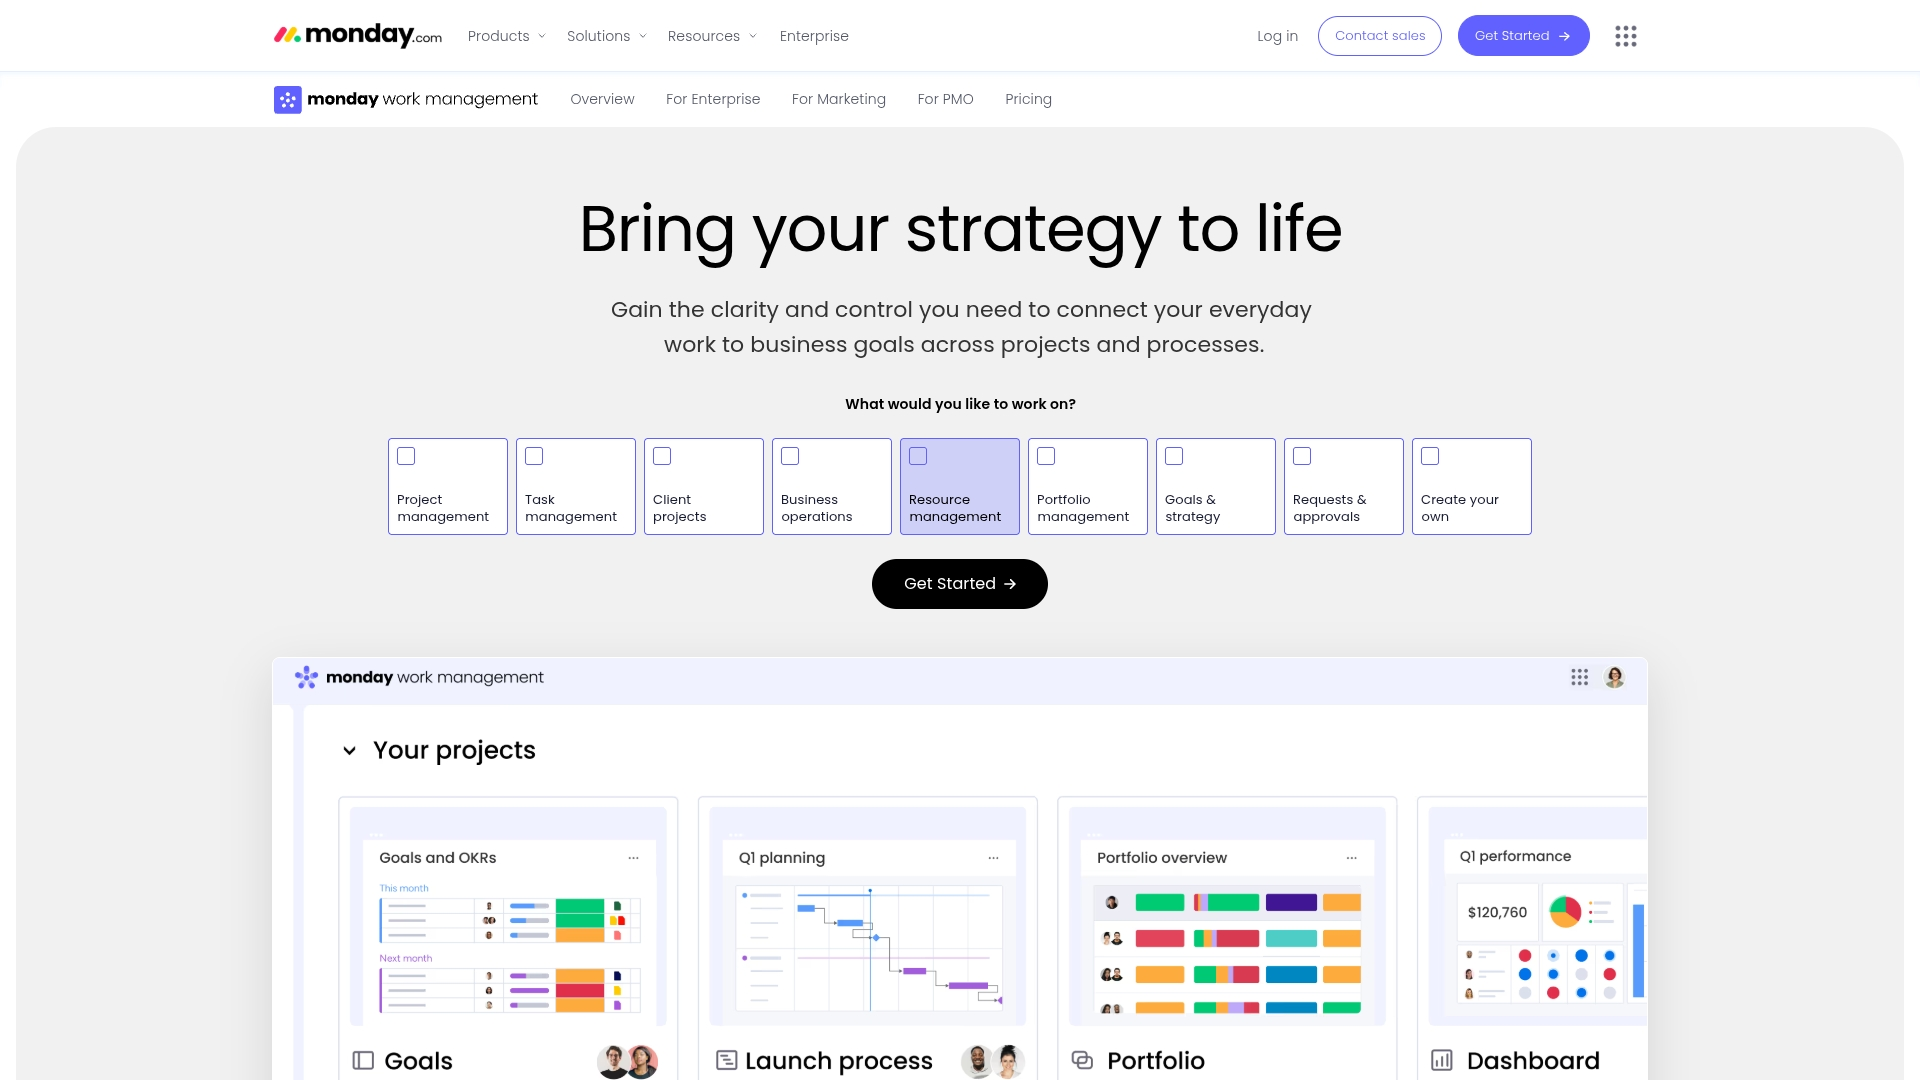
1. monday.com
monday.com turns scattered to-do lists into one colorful command center where everyone can see, track, and crush their work together. Its visual boards, built-in time tracking, and no-code automations mean we get more done and spend less time babysitting spreadsheets.
Best for: Teams that need a daily planner that links personal tasks to big-picture goals, while offering real-time visibility, time tracking, and automations across departments.
Key features
- Customizable boards (Kanban, Timeline, Gantt, calendar, table) that flex to any workflow
- Time tracking built right into each item—no extra plug-ins needed
- Automation & integration “recipes” (e.g., notify teammate, move item, create doc)
- Guest access for external collaborators (from Standard plan up)
- AI Assistant (limited credits per plan; you can buy more) that drafts tasks, spots risks, and builds project plans
- 200+ native app integrations to keep tools talking
- Dashboards that roll up multiple boards into one real-time view of progress, budget, and workload
Powerful AI assistant
The monday.com AI assistant transforms daily planning by turning hours of manual work into minutes of guided interaction. Simply type “Create a product launch timeline for June” and watch as it builds a complete project plan with realistic deadlines and dependencies.
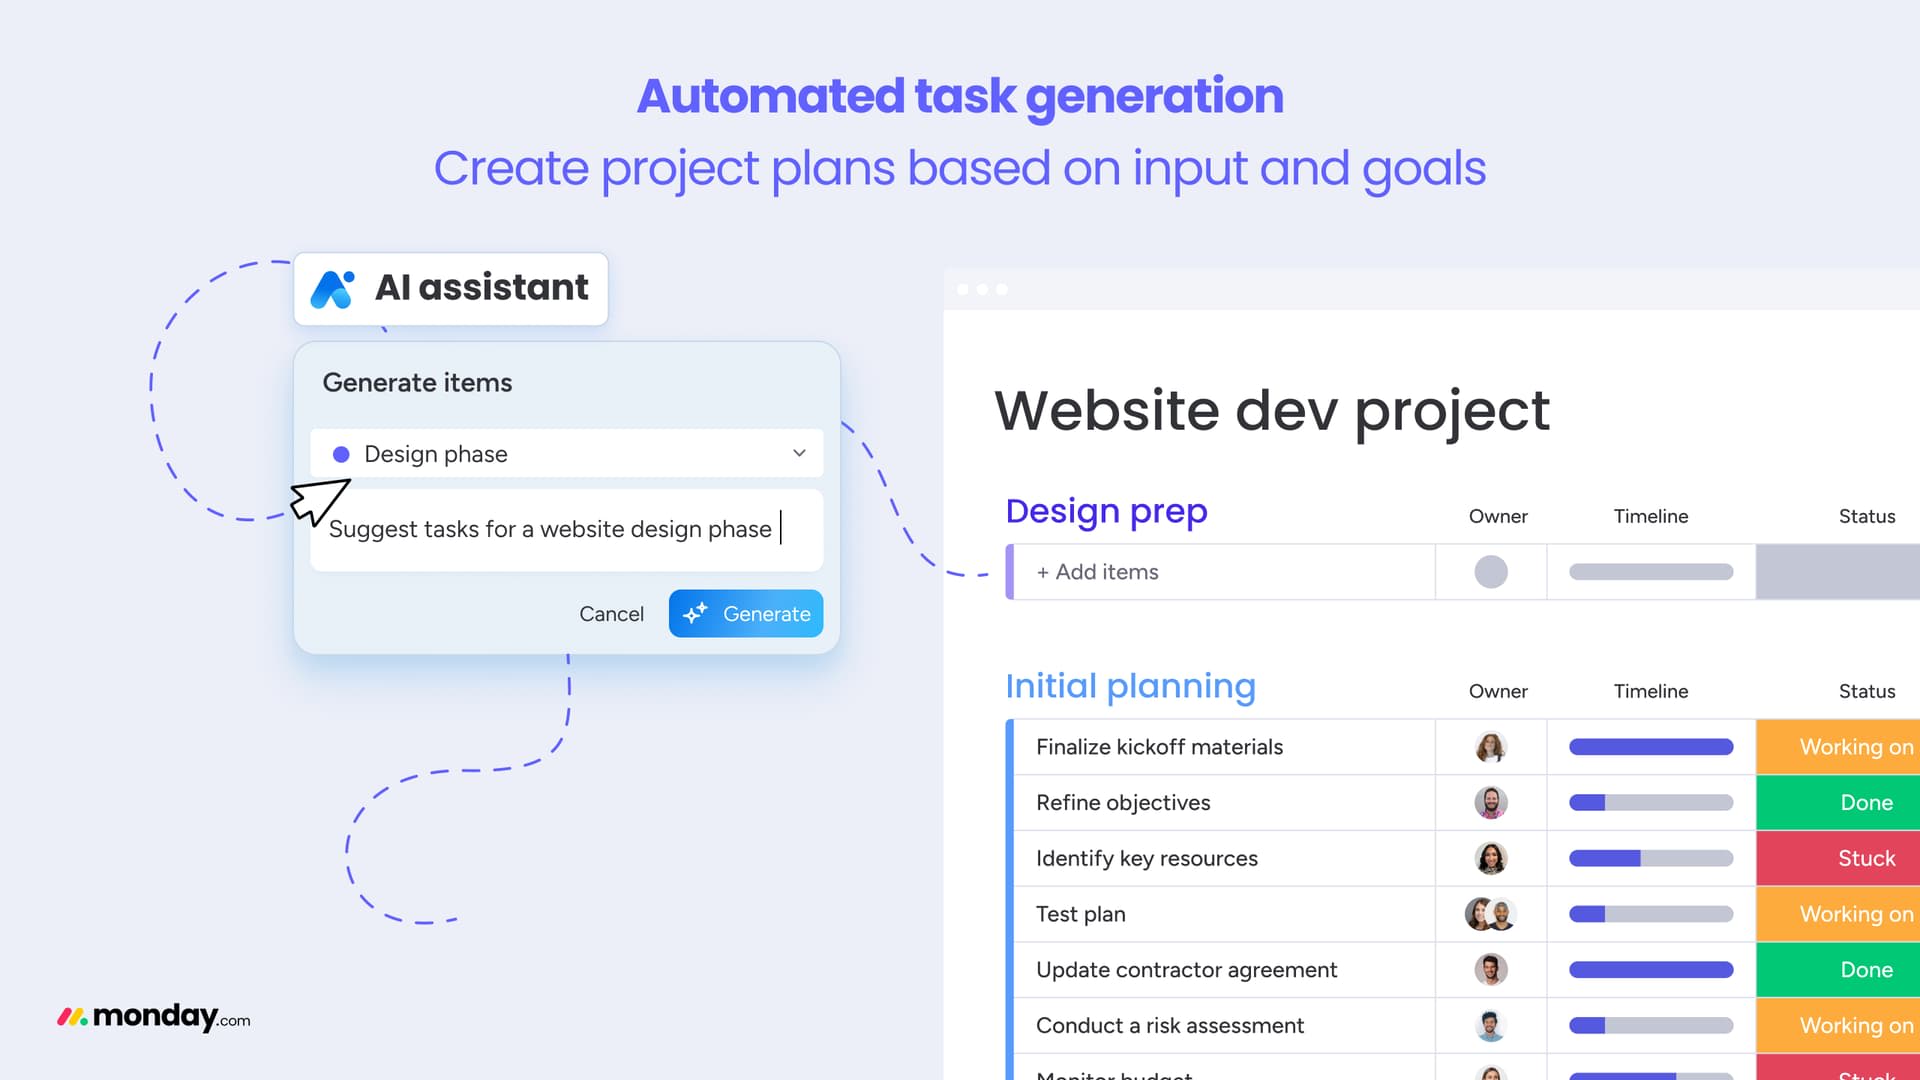
Unlike basic AI tools, it works contextually within your existing workflows, understanding that your marketing team needs different daily planning support than your developers, and adapting its suggestions based on your company’s actual execution patterns. Each plan includes AI credits that teams can deploy strategically, making the assistant feel like that organized colleague who somehow always knows exactly what needs to happen next to keep everyone’s day on track.
Advanced automations
monday.com automations turn tedious daily planning tasks into background processes that just happen while you focus on actual work—no coding required. With a visual recipe builder, you can create workflows like “When a task is marked complete, notify the next person in line and update the project status,” or “If a high-priority task is approaching its deadline, automatically bump it to the top of everyone’s daily plan.”
The platform scales these time-savers with your needs. Free users can automate basic morning check-ins, while Pro teams can build sophisticated systems that automatically reorganize the day’s priorities when a client emergency lands in your inbox, ensuring your daily plan stays relevant even as circumstances change.
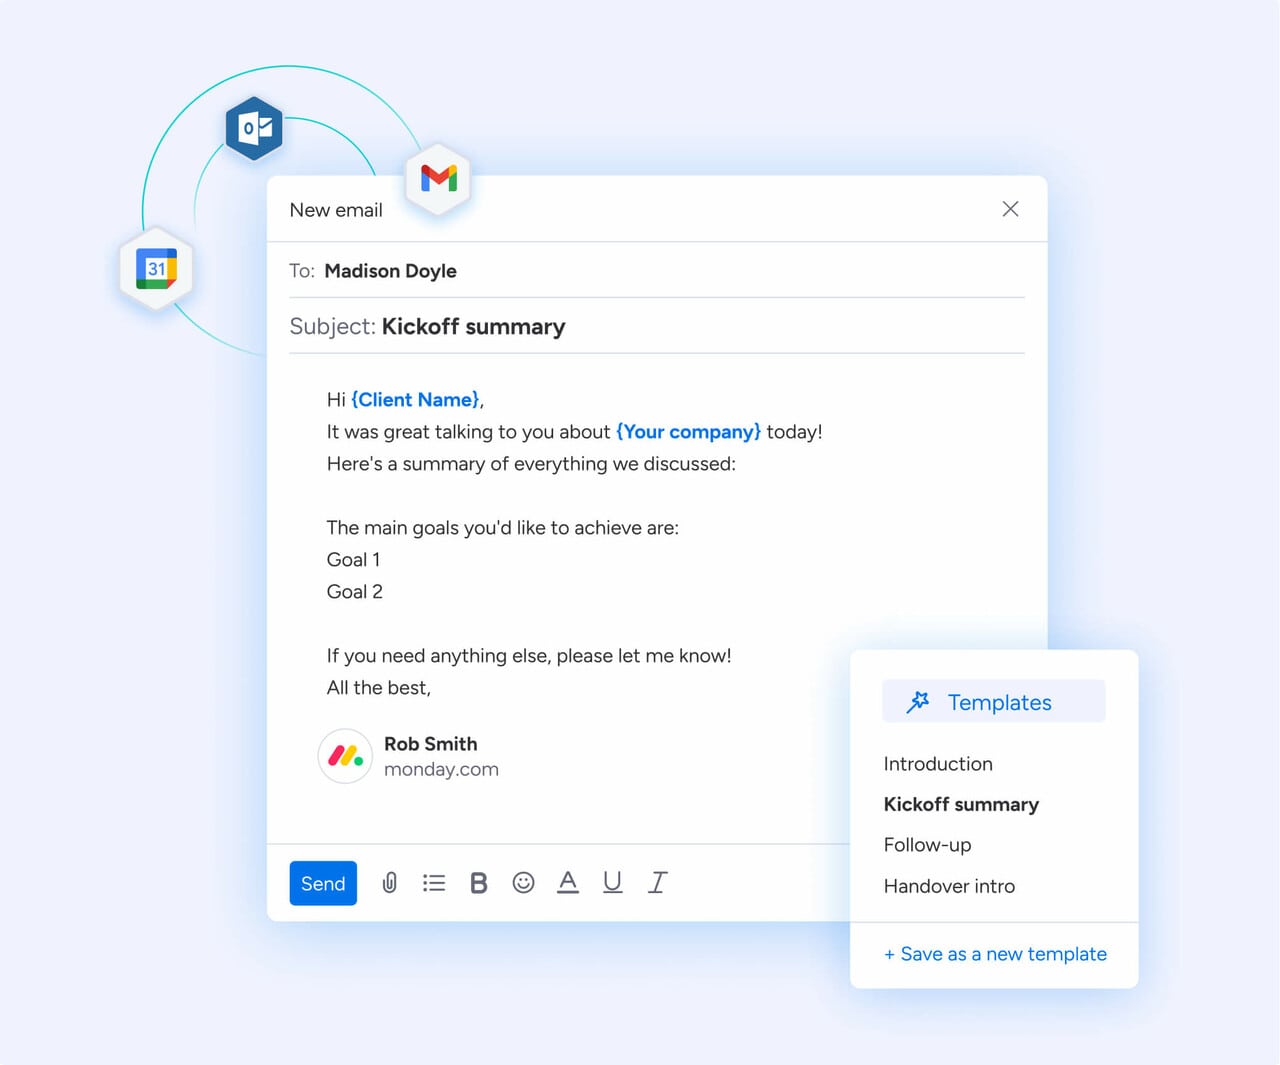
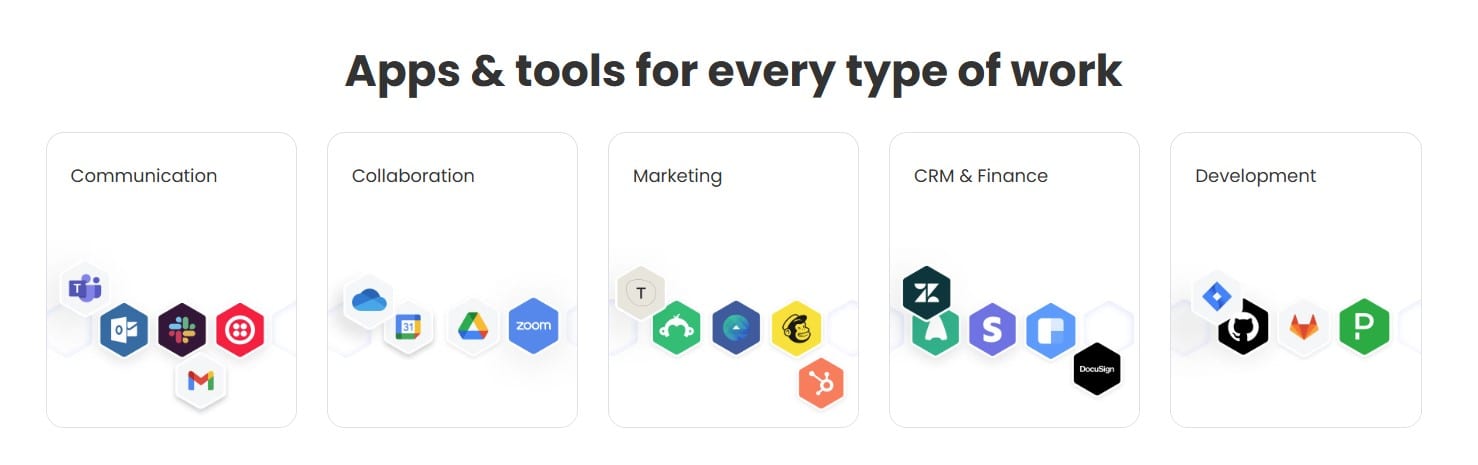
200+ integrations
monday.com connects your daily planning hub with over 200 tools your team already uses, eliminating the productivity-killing tab dance between apps.
When your 9:00 AM Zoom meeting from Google Calendar automatically appears in your daily plan, complete with preparation tasks and relevant documents, you start your day fully prepared instead of scrambling.
These are thoughtfully designed workflows that maintain planning momentum: a client request in Zendesk instantly becomes an assigned task in your daily planner, a completed design in Figma automatically updates its status in the project timeline, and a new lead in HubSpot triggers the creation of a follow-up sequence in your sales team’s daily workflow, keeping everyone’s daily plans perfectly synchronized without manual updates.
Pricing
- Free: $0 forever, 2 seats, 3 boards, 500 MB storage, limited views/automations
- Basic: $9/user/mo: Unlimited items, 5 GB storage, single-board dashboard
- Standard: $12/user/mo: Timeline & Gantt views, guest access, 250 automations and 250 integration actions per month
- Pro: $19/user/mo: Private boards, chart view, formula column, advanced time tracking, 25,000 automations & integrations per month
- Enterprise: custom pricing: Advanced reporting & analytics, multi-level permissions, enterprise-grade security & governance, higher automation/integration caps
Why it stands out
- Colorful, drag-and-drop interface feels friendly but scales to complex, enterprise workflows
- Built-in AI saves hours by drafting project plans and highlighting bottlenecks
- Time tracking comes standard—no more chasing hours in separate apps
- Massive integration marketplace keeps everyone in-flow without tab-hopping
If your team loves visuals, needs serious automation, and wants everything—from tasks to timesheets—in one place, monday.com is a hard-to-beat daily planning hub.
2. Asana
Asana delivers comprehensive work management with a laser focus on task coordination and team alignment. This project management platform excels at connecting daily work to strategic goals through its unique “Work Graph” technology, making it a standout choice for teams who need crystal-clear visibility into how their efforts drive business outcomes.
Best for: Teams seeking a daily planner app that seamlessly bridges individual tasks with company-wide objectives while maintaining an intuitive, user-friendly interface.
Key features:
- Multiple project visualization options including timeline, Kanban boards, and calendar views for flexible daily planning
- AI-powered workflow automation and task management through Asana Intelligence
- Goal-setting capabilities that link daily tasks directly to strategic business outcomes
Pricing:
- Personal: Free forever (up to 10 teammates)
- Starter: $10.99/month per user (billed annually) or $13.49/month (billed monthly)
- Advanced: $24.99/month per user (billed annually) or $30.49/month (billed monthly)
- Enterprise: Custom pricing (contact sales)
- Enterprise+: Custom pricing (contact sales)
- Nonprofits receive 50% discount on Starter and Advanced annual plans
- Minimum 2 users required for paid plans
Considerations:
- Tasks can only be assigned to one person at a time, which may limit collaborative workflows
- Advanced features require a steeper learning curve and may need additional training for full adoption
3. Trello
Trello transforms daily planning into a visual, drag-and-drop experience that makes organizing your day feel effortless. The platform specializes in Kanban-style boards that turn your tasks into moveable cards, making it perfect for teams and individuals who think visually and prefer simplicity over complexity.
Best for: Teams and individuals who want a straightforward, visual approach to daily planning without the complexity of advanced project management features.
Key features:
- Visual Kanban boards with drag-and-drop cards for intuitive task management
- Butler automation to eliminate repetitive daily planning tasks
- 200+ Power-Up integrations to connect with your favorite planning apps and tools
Pricing:
- Free: $0 for up to 10 collaborators per workspace with unlimited cards and up to 10 boards
- Standard: $5/month per user (billed annually) with unlimited boards and advanced checklists
- Premium: $10/month per user (billed annually) with multiple views and AI features
- Enterprise: $17.50/month per user (billed annually) with advanced security and admin features
- Educational and non-profit discounts available
Considerations:
- Limited functionality for complex daily planning that requires detailed reporting or advanced scheduling features
- Can become cluttered and overwhelming as your daily planning needs grow beyond simple task organization
4. ClickUp
ClickUp transforms scattered work into a unified command center where teams can plan, execute, and track everything from daily tasks to complex projects. The platform specializes in extreme customization and comprehensive functionality, making it ideal for teams who want to replace multiple tools with one powerful solution.
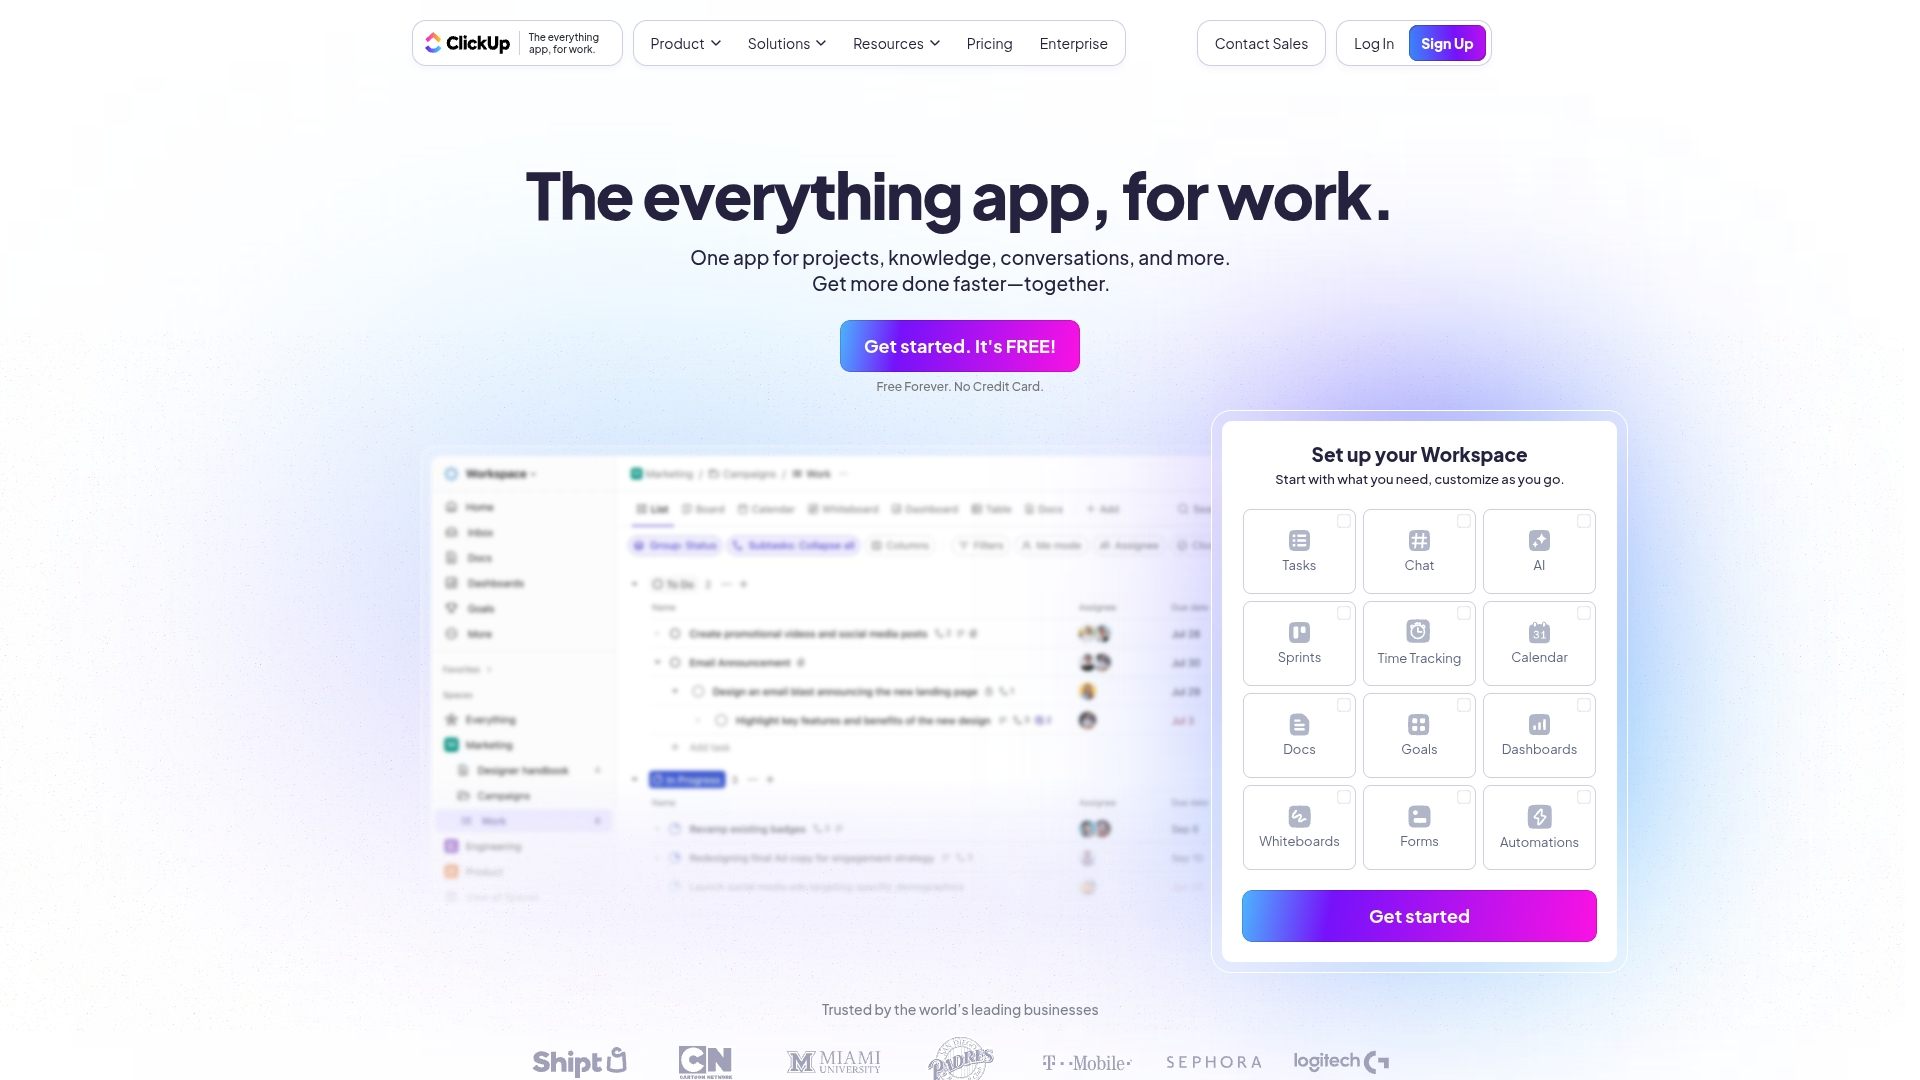
Best for: Teams seeking an all-in-one daily planner app that can adapt to any workflow while consolidating multiple productivity tools into a single platform.
Key features:
- Multiple view options including Kanban boards, Gantt charts, and calendar views for flexible daily planning
- AI-powered ClickUp Brain for automated task summaries and intelligent workflow recommendations
- Comprehensive automation capabilities with 100+ pre-built recipes to streamline repetitive daily planning tasks
Pricing:
- Free Forever: $0 (unlimited tasks and users with 60MB storage)
- Unlimited: $7/user/month (2GB storage per user, unlimited integrations and custom fields)
- Business: $12/user/month (unlimited storage, advanced dashboards and reporting)
- Enterprise: Custom pricing (white labeling, advanced permissions, dedicated support)
Considerations:
- Steep learning curve due to extensive feature set can overwhelm new users initially
- Performance issues like slowness and bugs reported when handling large amounts of data
5. Smartsheet
Smartsheet transforms scattered work into streamlined execution with its familiar spreadsheet-like interface powered by enterprise-grade planning capabilities. The platform specializes in bridging the gap between simple spreadsheet users and complex project management needs, making it ideal for organizations that want powerful work management without abandoning their spreadsheet comfort zone.
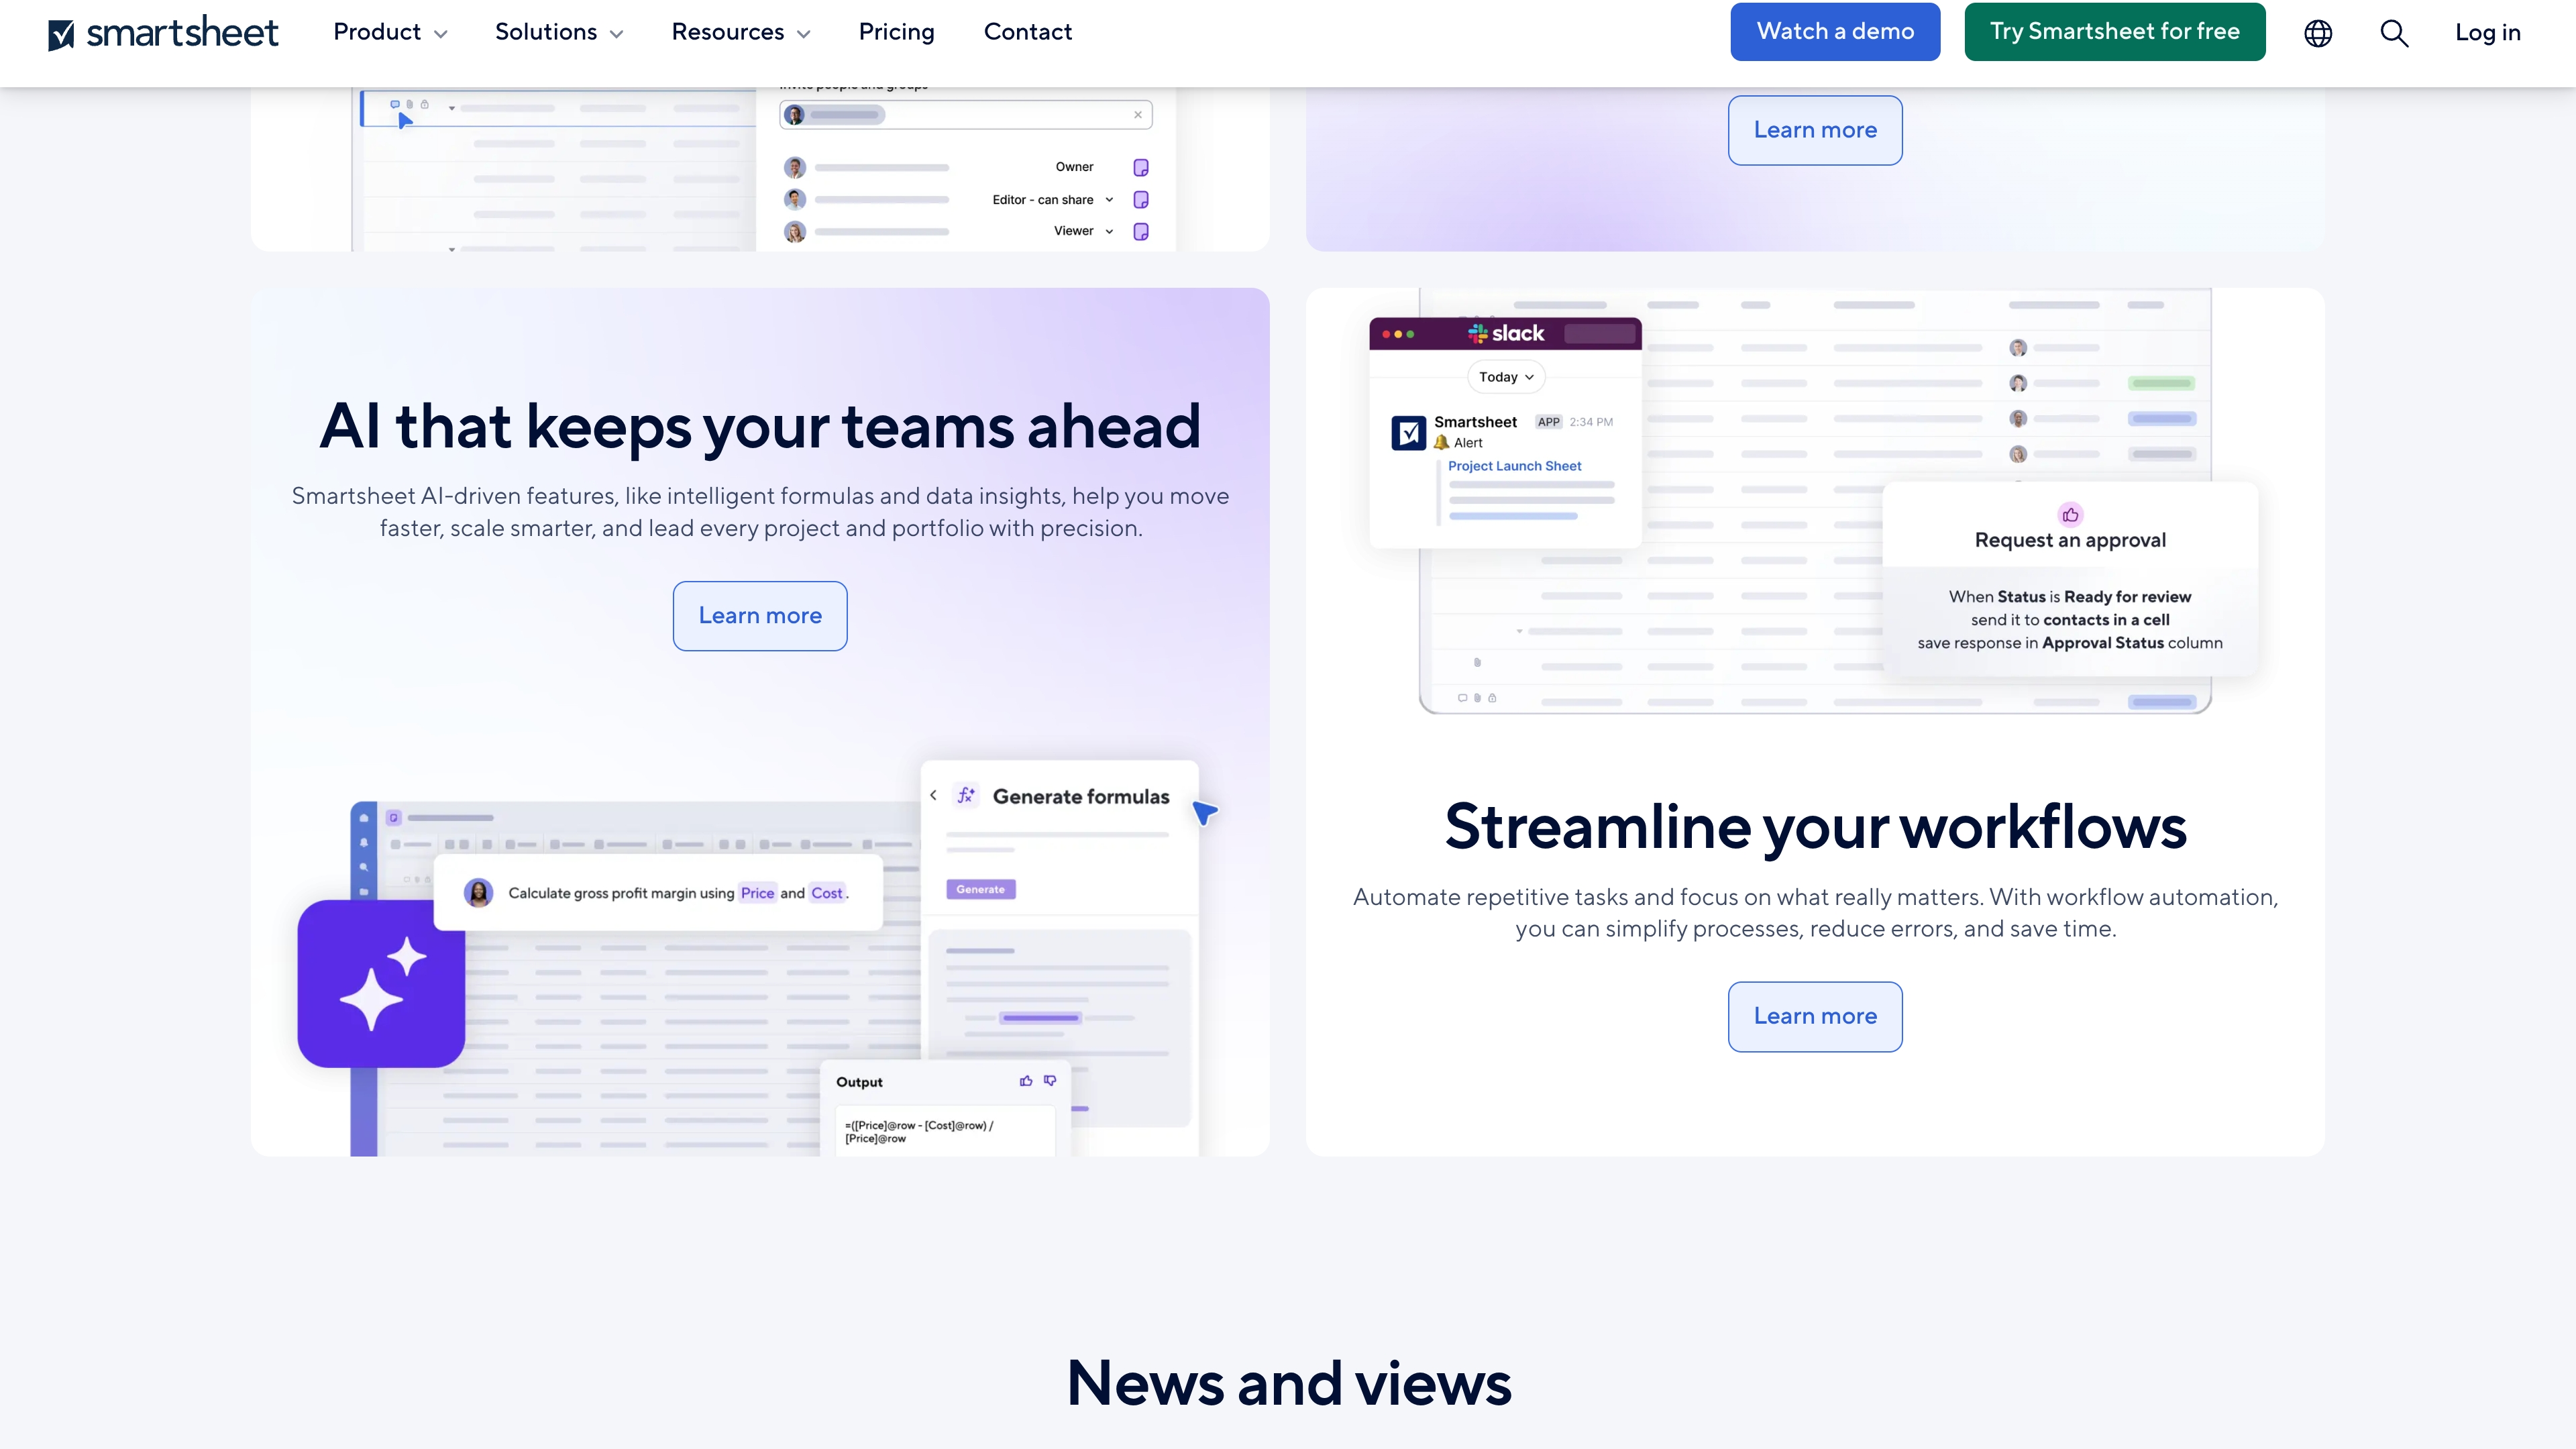
Best for: Organizations seeking enterprise-grade work management capabilities within a familiar spreadsheet environment that scales from simple task tracking to complex portfolio management.
Key features:
- Multiple view options including grid, Gantt, card (Kanban), and calendar views for flexible project visualization
- Advanced automation workflows that eliminate repetitive tasks without requiring coding knowledge
- Comprehensive dashboard and reporting capabilities that combine data from various sources for real-time insights
Pricing:
- Pro: $7/month per user (billed annually)
- Business: $25/month per user (billed annually)
- Enterprise: Custom pricing
Considerations:
- Learning curve can be steep for advanced features like complex automation and formulas
- User interface may feel less modern compared to newer daily planner apps and planning applications
6. Wrike
Wrike delivers enterprise-grade work management with advanced customization capabilities for complex workflows. The platform specializes in highly configurable project structures and robust security features, making it ideal for large teams managing intricate, multi-departmental initiatives. With AI-powered automation and comprehensive resource planning tools, Wrike transforms scattered work into streamlined execution across any industry.
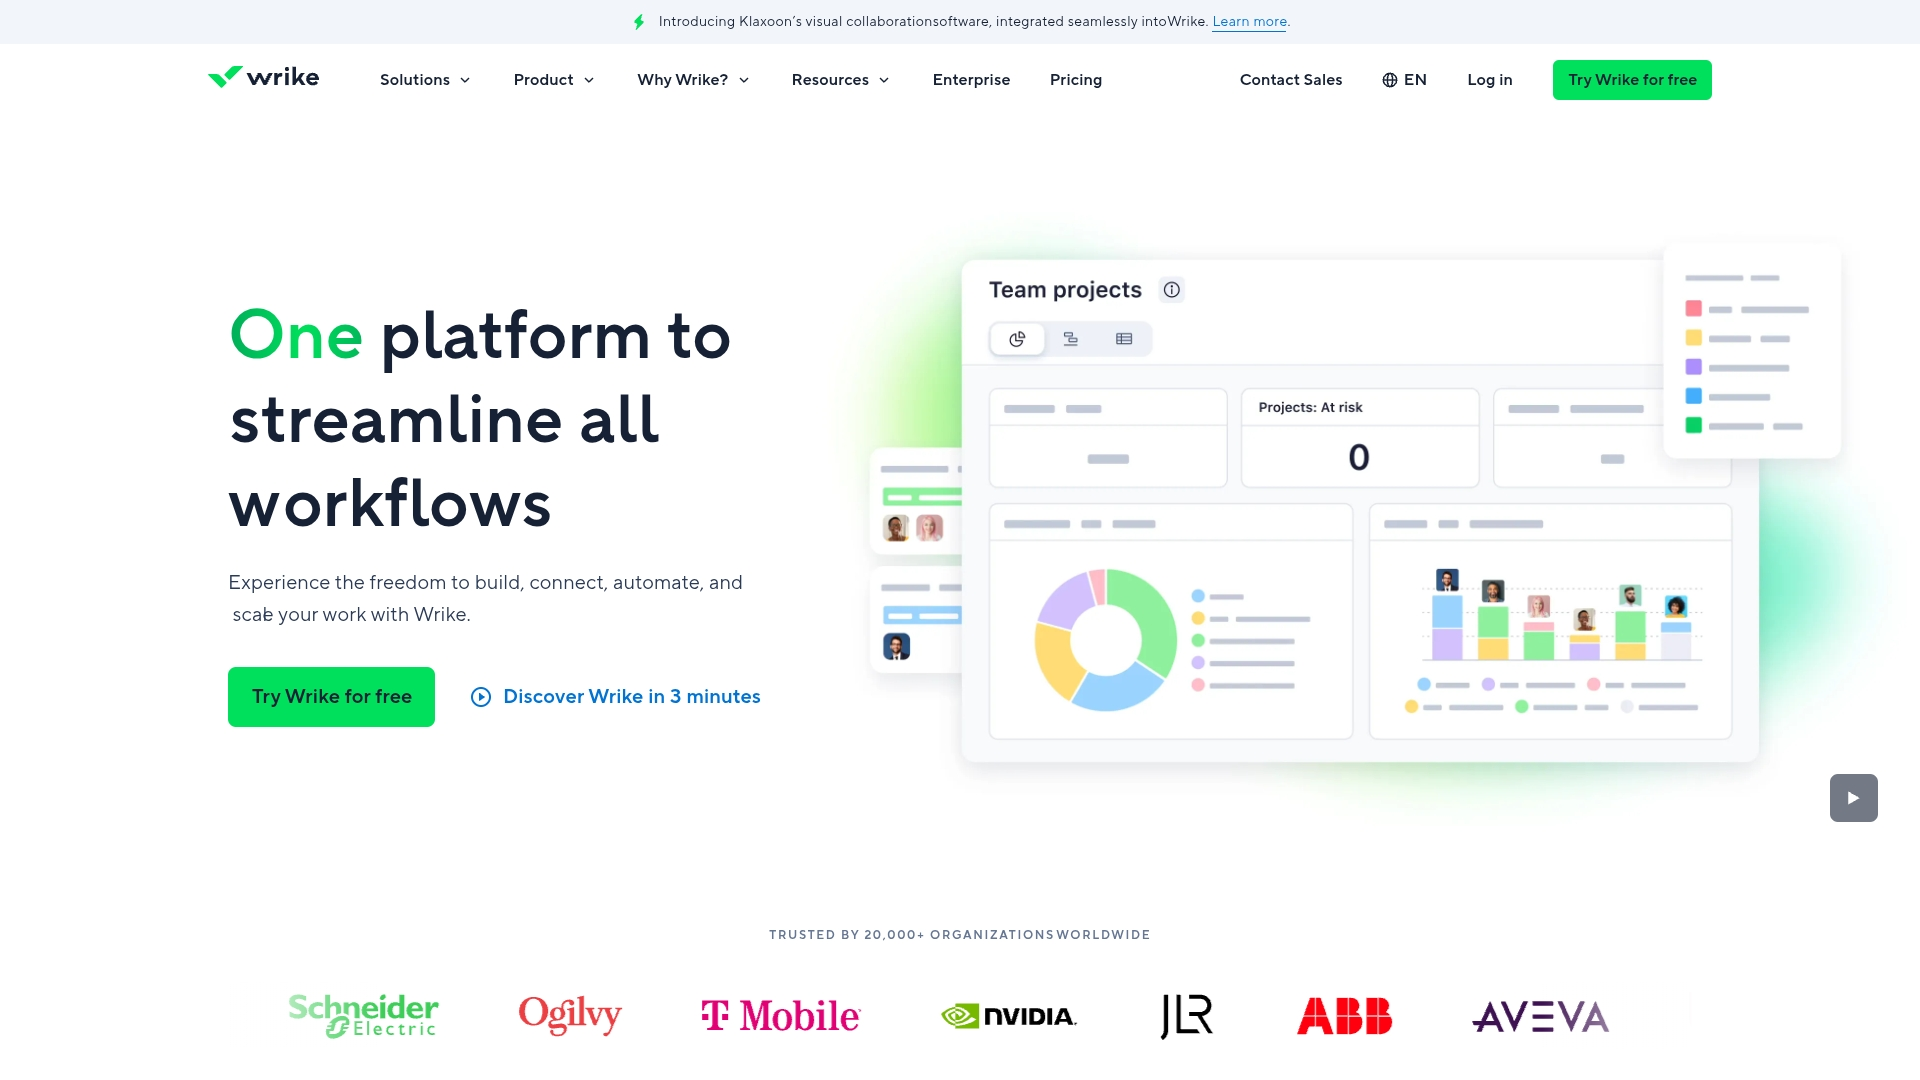
Best for: Organizations requiring deep customization and enterprise-level security for managing complex, cross-functional projects and workflows.
Key features:
- Custom item types and workflows that adapt to unique organizational processes
- AI-powered Work Intelligence for risk prediction, task automation, and content creation
- Advanced resource management with workload balancing and capacity planning
Pricing:
- Free: $0/month for basic project and task management with limitations
- Team: $10/month per user (2-15 users) with unlimited projects and 2GB storage
- Business: $25/month per user (5-200 users) with advanced reporting and 5GB storage
- Enterprise: Custom pricing with advanced security features and 10GB storage
- Pinnacle: Custom pricing with advanced analytics and 15GB storage
- All plans include a 14-day free trial
Considerations:
- Steep learning curve that can overwhelm new users without project management experience
- Higher-tier pricing may not justify costs for smaller teams who don’t need advanced features
7. Airtable
Airtable transforms the humble spreadsheet software into a powerful database that adapts to any workflow you can imagine. This flexible daily planner application combines the familiarity of spreadsheets with the robust capabilities of a relational database, making it perfect for teams who need custom planning solutions that grow with their needs.
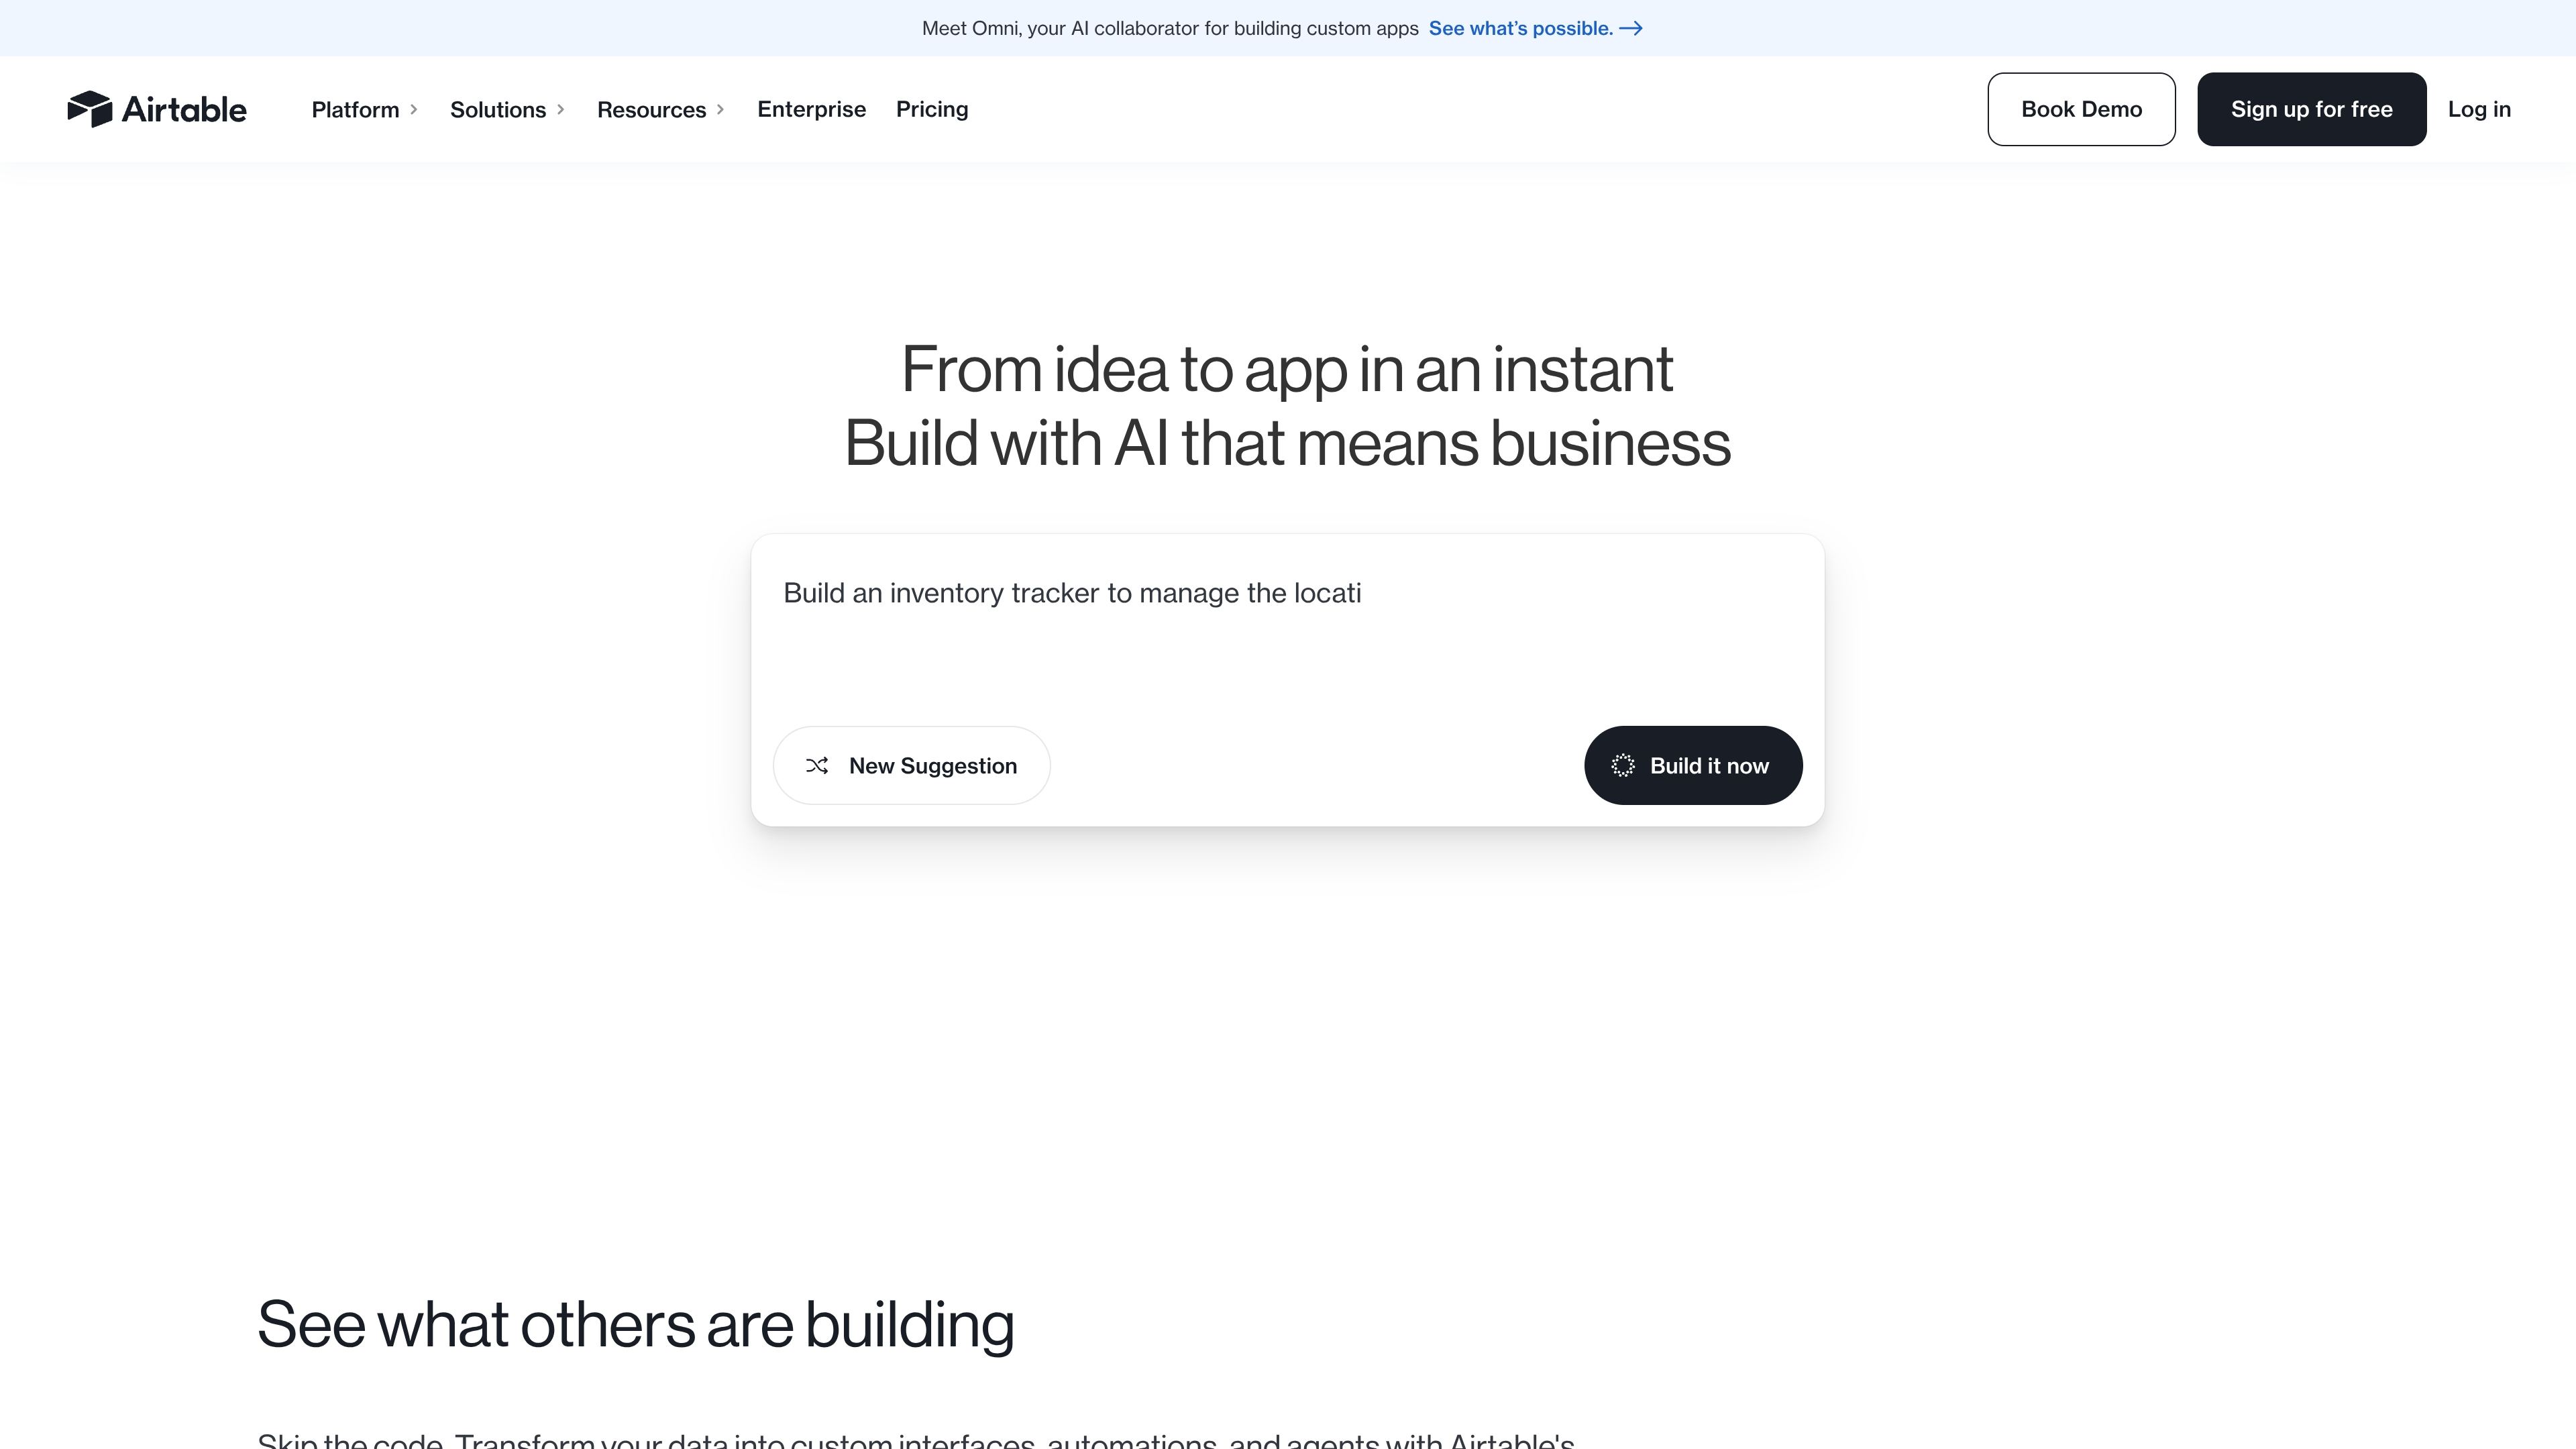
Best for: Teams seeking a highly customizable daily planner app that can evolve from simple task tracking to complex project management without switching platforms.
Key features:
- Multiple view options including Grid, Kanban, Calendar, and Gantt charts for visualizing your daily schedule in the format that works best
- Custom fields and relational databases that let you connect tasks, projects, and resources in sophisticated ways
- Extensive template gallery with ready-to-use planning apps for everything from content calendars to project roadmaps
Pricing:
- Free: $0/month for up to 5 editors with 1,000 records per base
- Team: $20/month per user (billed annually) with 50,000 records and unlimited editors
- Business: $45/month per user (billed annually) with advanced features and 125,000 records
- Enterprise Scale: Custom pricing for large organizations needing maximum scalability
Considerations:
- Learning curve can be steep when building complex workflows with multiple interconnected tables
- Performance may slow down with very large datasets, though recent updates have improved this significantly
8. Plaky
Plaky delivers project management with a generous free task manager plan that includes unlimited users, projects, and tasks. The platform specializes in visual workflow management and intuitive design, making it ideal for small teams or organizations new to digital planning who want powerful features without the price tag.
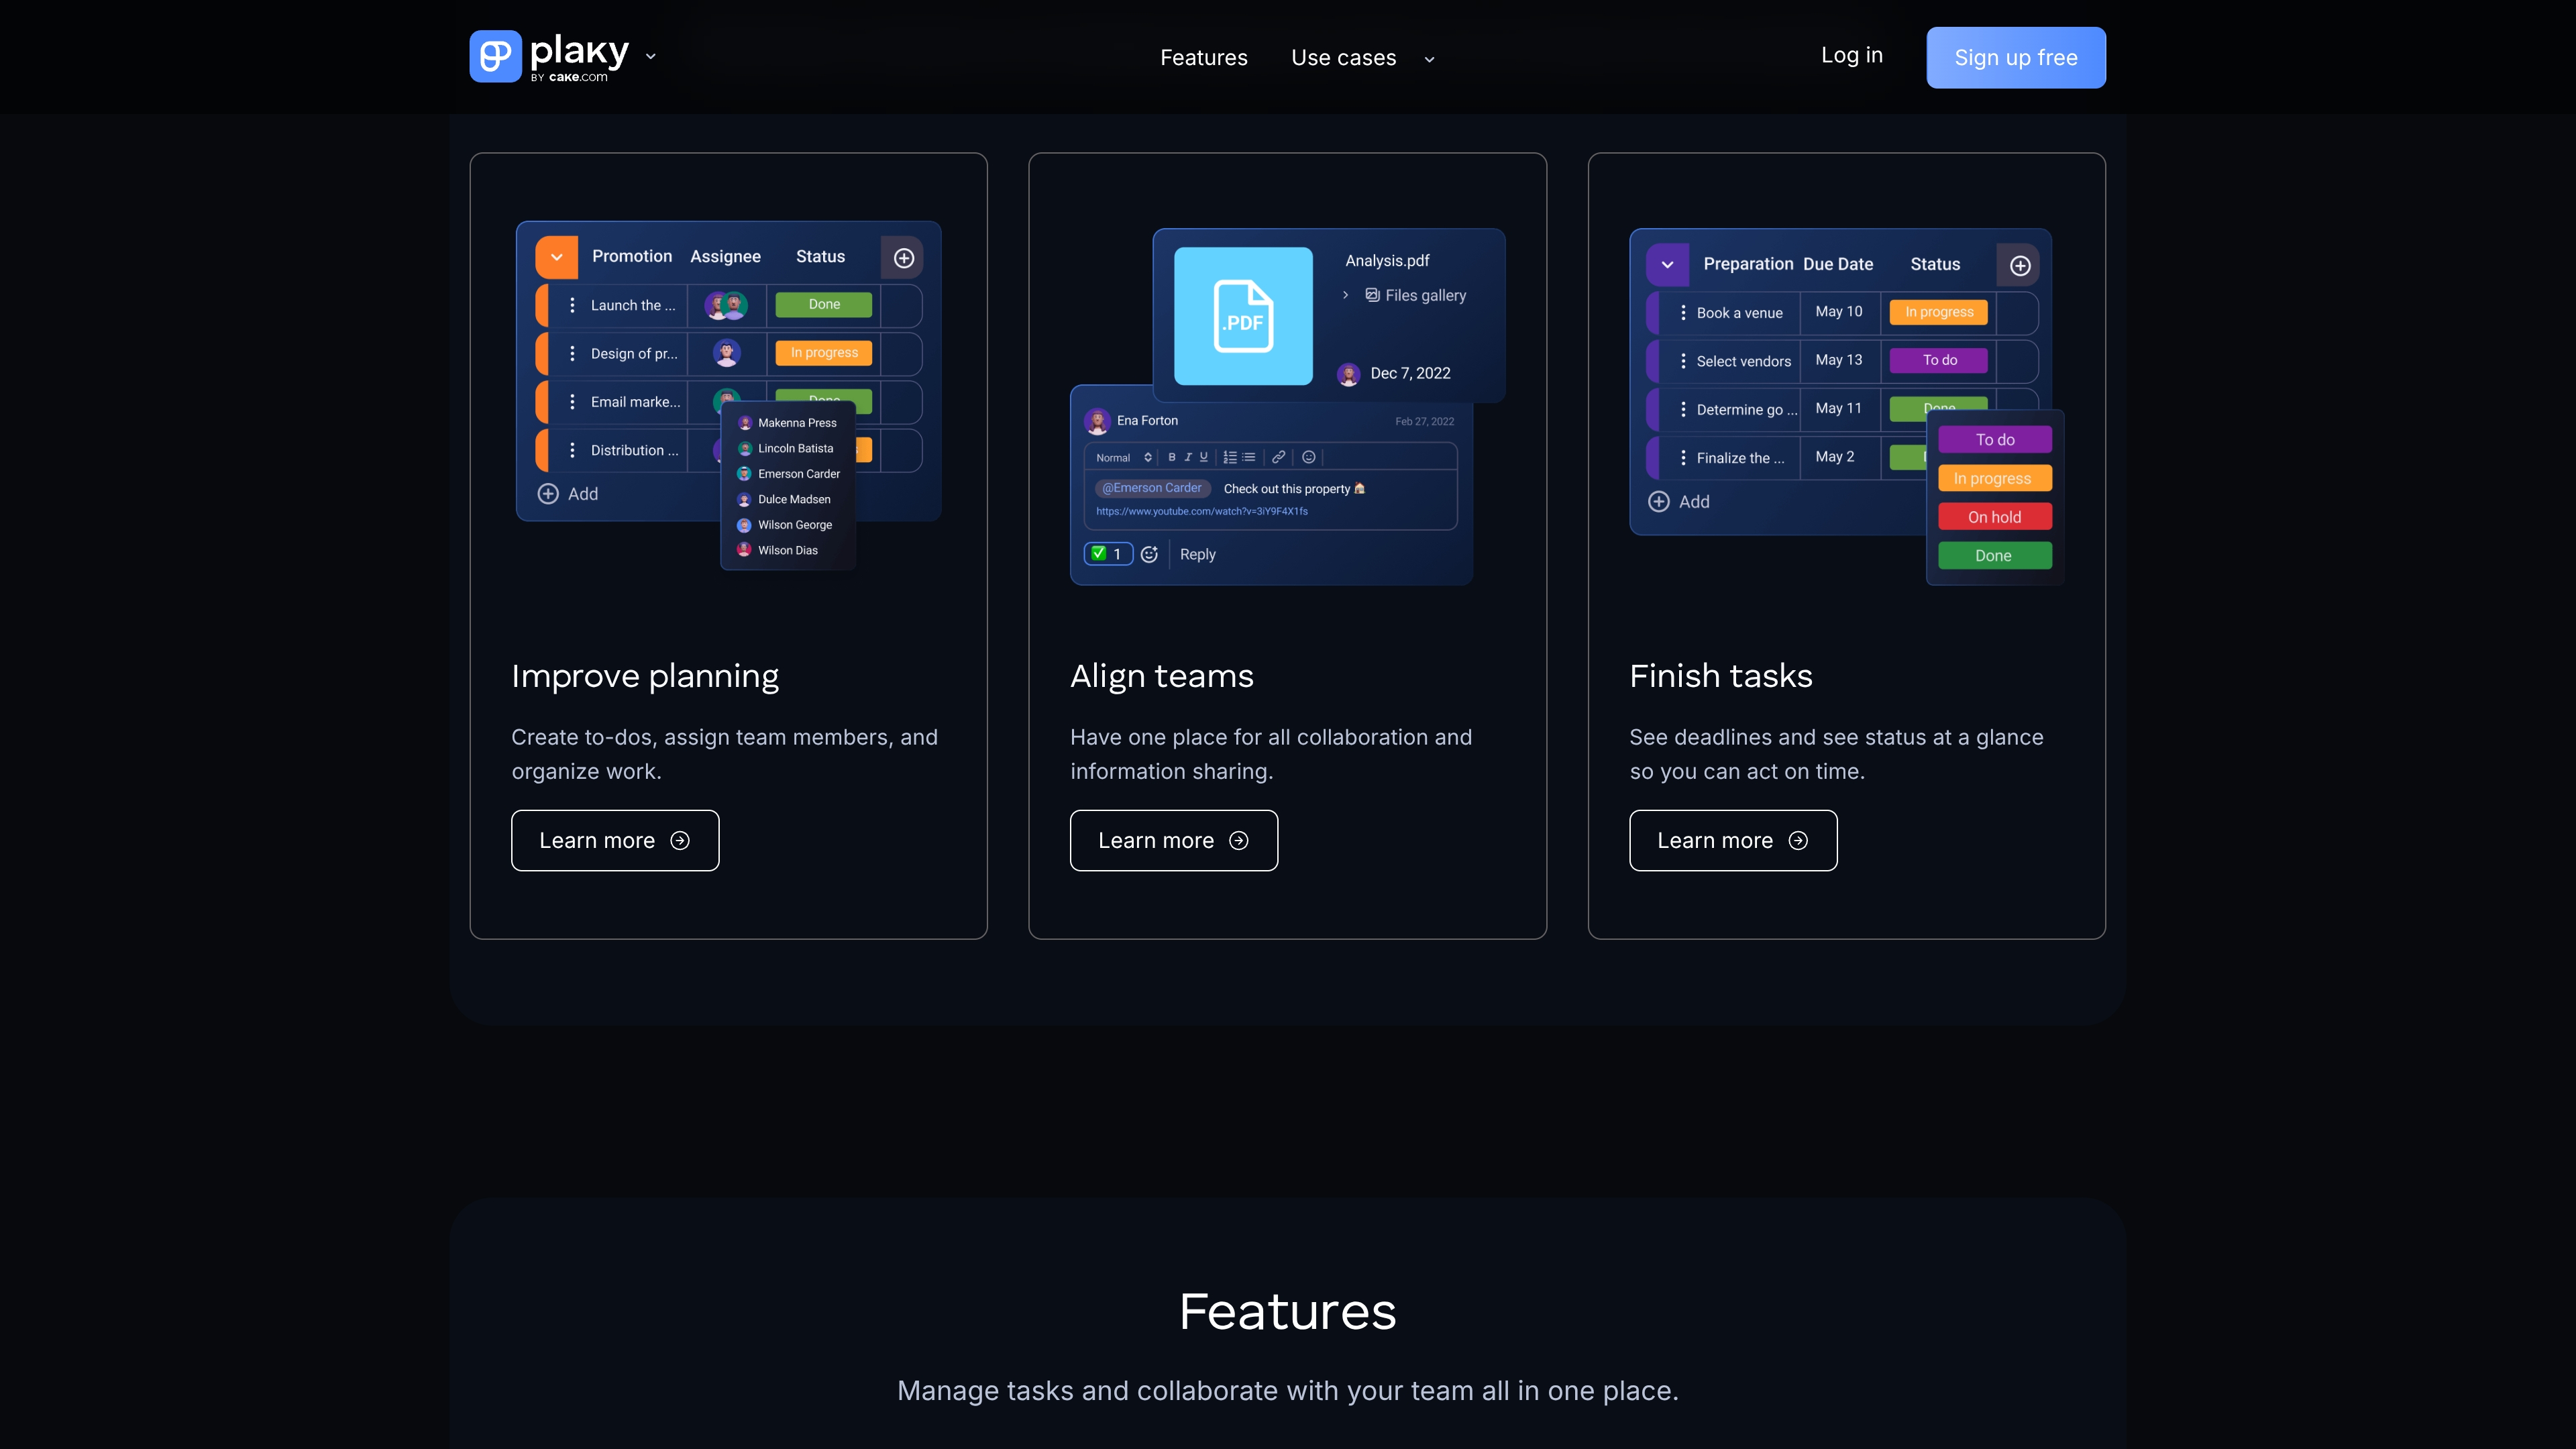
Best for: Teams seeking a feature-rich daily planner app with unlimited access to core planning features at no cost.
Key features:
- Multiple view options including Kanban boards, Gantt charts, and list views for flexible task visualization
- Customizable fields and conditional coloring to organize and prioritize daily tasks effectively
- Real-time collaboration with comments, @mentions, and file sharing for seamless team coordination
Pricing:
- Free: $0 for unlimited users with essential task management features
- Pro: $3.99/month per seat (billed annually) or $4.99/month (billed monthly)
- Enterprise: $8.99/month per seat (billed annually) or $10.99/month (billed monthly)
- Bundle: $12.99/month per seat (billed annually) includes access to team communication and time tracking tools
Considerations:
- Limited integrations compared to established competitors, with primary connection only to Clockify time tracking
- Mobile app functionality has reported issues, particularly with the Android version experiencing login problems and crashes
9. Motion
Motion flips the traditional to-do list on its head by using AI to slot your tasks and priorities directly into your calendar—no manual juggling required. As meetings pop up or deadlines shift, Motion reshuffles your day in real time so you always know exactly what to tackle next.
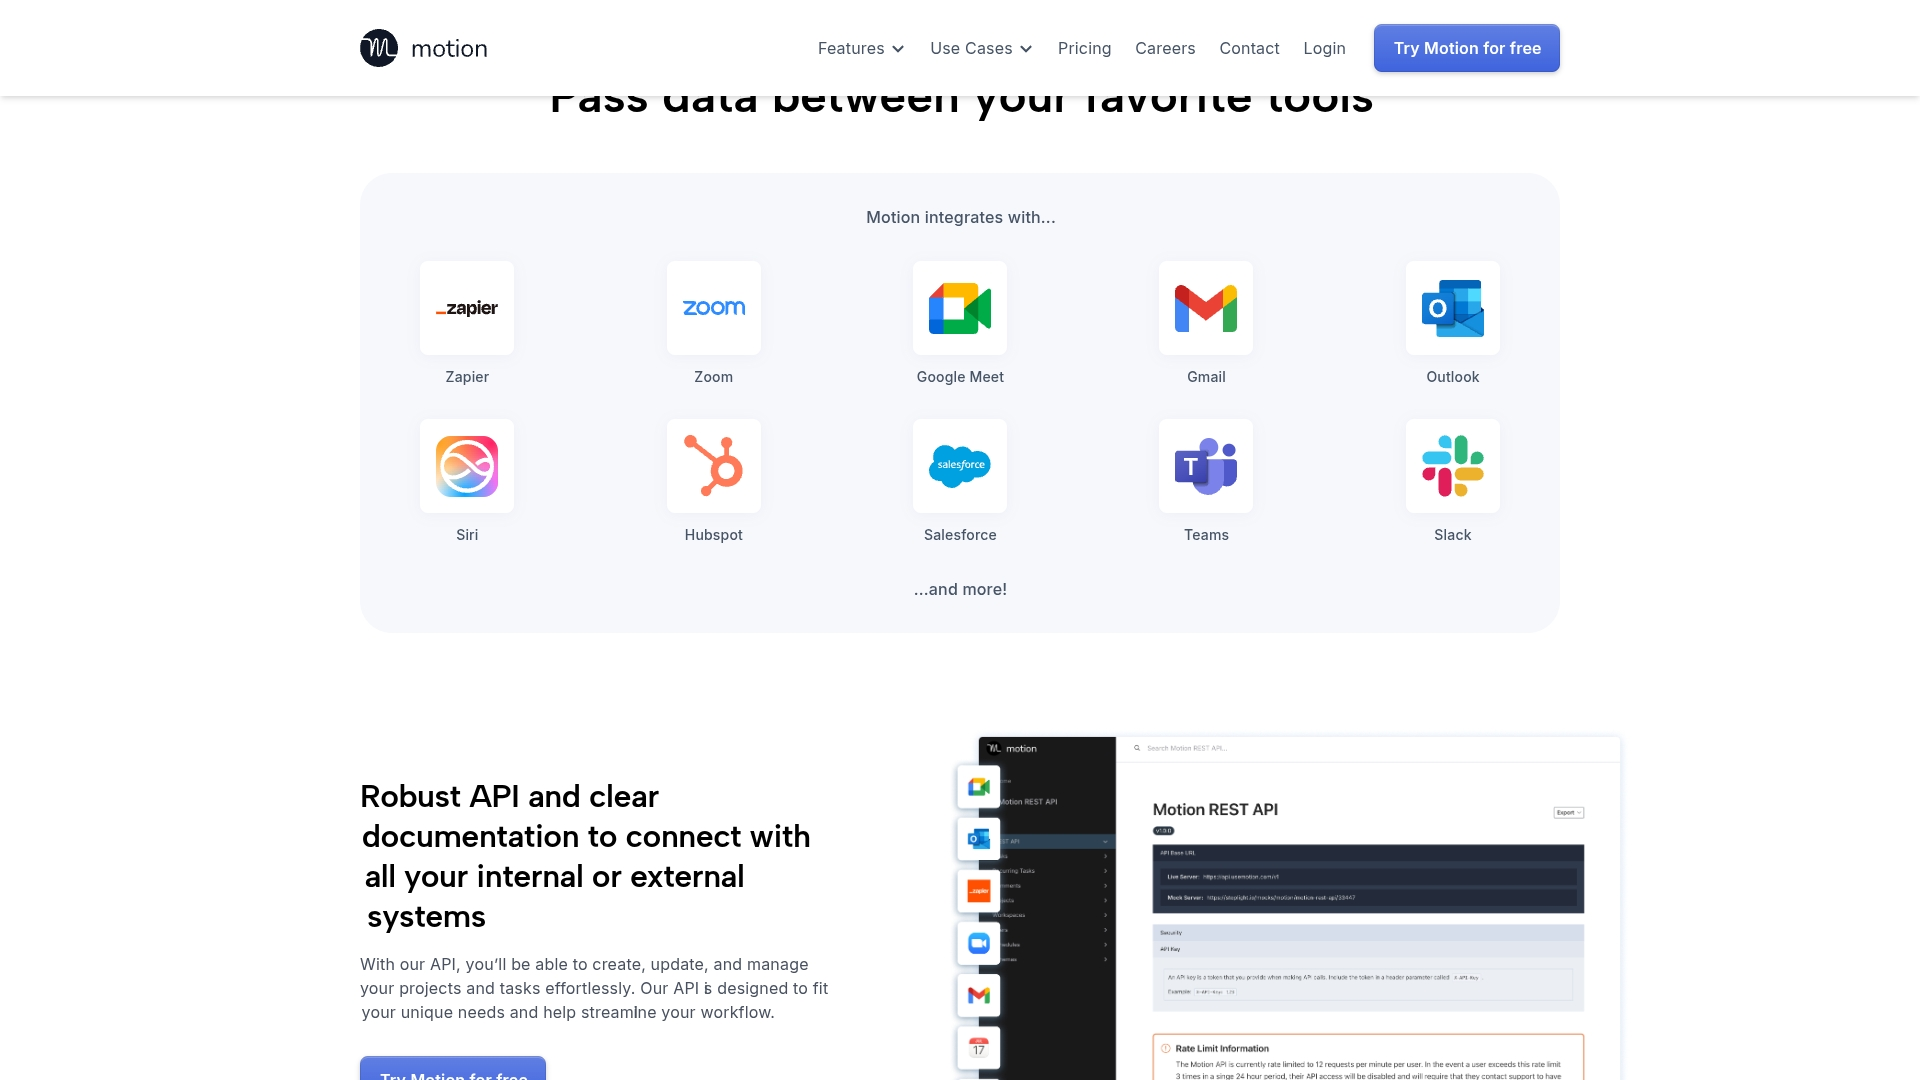
Best for: Individuals and teams who want a hands-off, AI-driven planner that keeps work on track without constant rescheduling.
Key features:
- AI auto-scheduling that places tasks on your calendar based on priority, deadline, and availability
- Real-time optimization that shuffles your whole day when a new meeting or urgent request appears
- Built-in project management with task dependencies and team workload balancing
Pricing: Motion offers paid plans for individuals and teams, but specific pricing wasn’t available in the sources we reviewed. Check Motion’s website for the latest details.
Considerations:
- Known to sit at a higher price point than many traditional planning apps
- The highly structured, AI-driven workflow may feel restrictive for folks who prefer totally free-form scheduling
10. Sunsama
Sunsama transforms chaotic daily planning into a mindful ritual that actually works. This premium daily planner app specializes in intentional time management for busy professionals who want to escape the overwhelm trap and build sustainable productivity habits. Unlike automated scheduling tools, Sunsama guides you through thoughtful daily planning that prioritizes work-life balance over cramming more tasks into your day.
Best for: Professionals seeking a zen-like approach to daily planning that emphasizes mindfulness and sustainable productivity over maximum output.
Key features:
- Guided daily and weekly planning rituals that help you reflect, prioritize, and schedule with intention
- Seamless integrations with popular tools like Google Calendar, Asana, Trello, ClickUp, and Slack to consolidate tasks from multiple platforms
- Timeboxing and focus mode features with built-in Pomodoro timer to minimize distractions during deep work sessions
Pricing:
- Individual plan: $20/month (billed monthly) or $16/month (billed annually)
- 14-day free trial available with no free forever plan
Considerations:
- Premium pricing at $20/month makes it one of the more expensive daily planner apps on the market
- Mobile app functionality is limited compared to the desktop version, with core features like time blocking only available on desktop
elevate your daily planning with monday.com
Imagine trading that morning scramble for a clear, confident start to the day. That’s the power of intentional planning—it aligns the whole team, turning scattered tasks into a focused game plan.
We’ll help you build a repeatable planning playbook right inside monday.com, connecting all your tools so information flows freely. This gives everyone a single source of truth, swapping out status-check meetings for actual, meaningful progress.
This isn’t about adding another task to your plate – it’s about making your work work better. monday.com turns your daily planning from a necessary chore into your team’s secret weapon for success. Ready to make every day a win?
FAQs
What's the difference between daily planner software and project management platforms?
Daily planners are for individual to-do lists, while work management platforms like monday.com unite entire teams around shared goals and workflows. One manages your day; the other orchestrates team execution.
Can daily planner software integrate with other business tools?
While most planners have basic connections, a true work management platform integrates deeply with your core tools like Slack and Google Workspace. This centralizes work and stops the momentum-killing drain of switching between apps.
How do I choose between free and paid daily planner options?
Free planners are great for personal tasks, but growing teams need the collaboration, automation, and security of a paid platform. It’s an investment in your team’s ability to scale and execute flawlessly together.
Is daily planner software secure enough for business use?
Security varies widely, so for business use, you need a platform with enterprise-grade protection like SOC 2 compliance. monday.com provides robust security that protects your work without complicating it.
Can daily planner software help with team collaboration?
Traditional daily planners are built for solo work, not team synergy. A work management platform is designed for collaboration, turning individual task lists into a clear, connected, and actionable plan for everyone.
How long does it take to implement daily planner software across a team?
With an intuitive platform like monday.com, your team can be up and running in days, not months. The key is a flexible system that lets you start simple and build powerful workflows as your team gains confidence.